WEEK 1
Adobe Illustrator was introduced. Learned about the difference between an Adobe Illustrator and Photoshop.
Adobe Photoshop is a software used for manipulating pictures. The pictures are made up of pixels.
Adobe illustrator is vector software used in illustrations and publications.
Learned the tools in Illustrator.
Like:
- Selection Tool: Used for selecting any object and dragging it around the artboard. It can also increase/decrease the size of the image. For uniform increasing/decreasing of the object , click shift and then drag it around for uniform results.
- Direct Selection tool: Used for editing individual paths and anchor points.
- Magic Wand Tool: Used for selecting images with the same features.
- Pen tool: Used for drawing a line or a curve in the artboard. Can be used to trace images.
- Adding/Deleting Anchor Points
- Curvature Tool: Used to create curves in a line.
- Pathfinder Tool: Used for combining objects and creating new shapes.
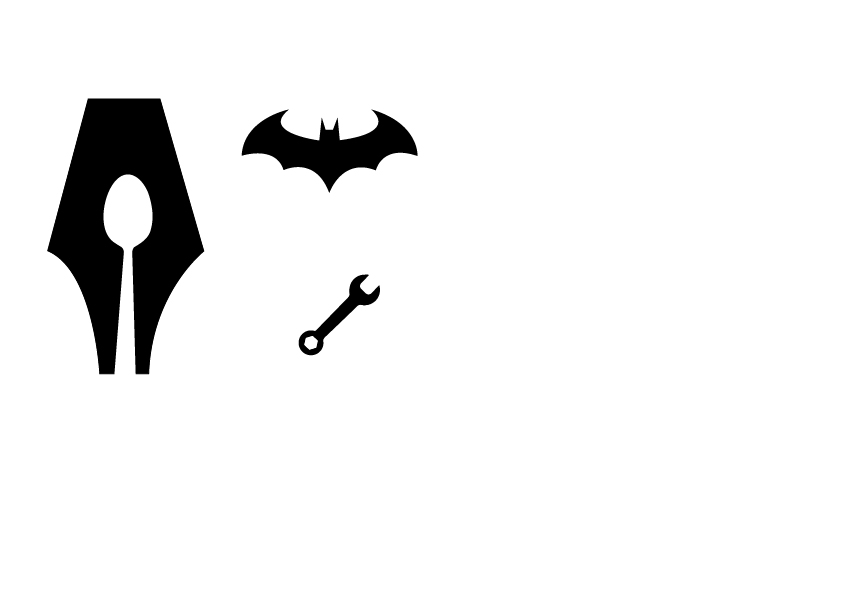
Made 2 logos and a spanner using the tools of illustrator
WEEK 2
We started the class by talking about the Gestalt principles.
GESTALT PRICIPLE
Rules of visual perceptionKurt Koffka, Wolfgang Kohler, Max Wertheimer These principles analyse how humans group together different objects into a single coherent whole or in groups
The gestalt effect is the capability of our brain to generate whole forms.
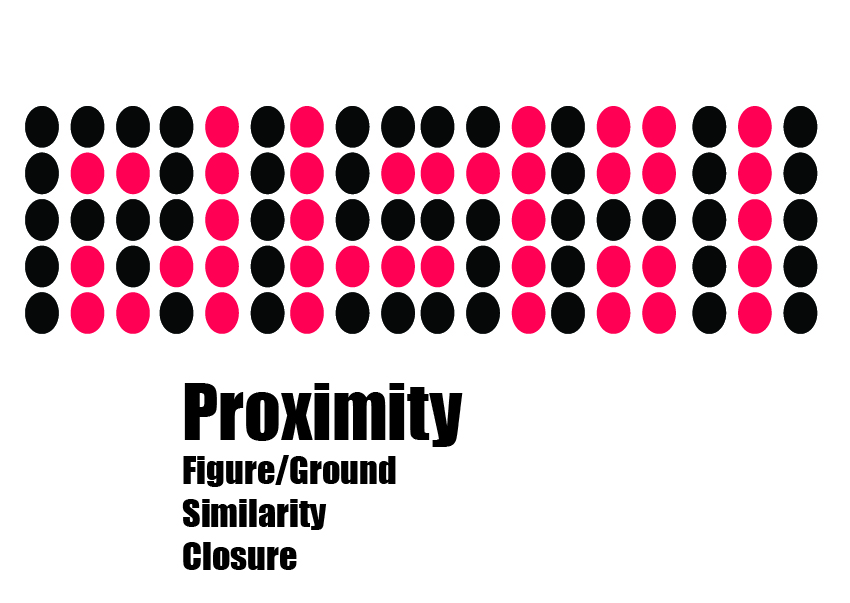
- Proximity: When diff elements are laid out close to each other, it gives us a whole pic.
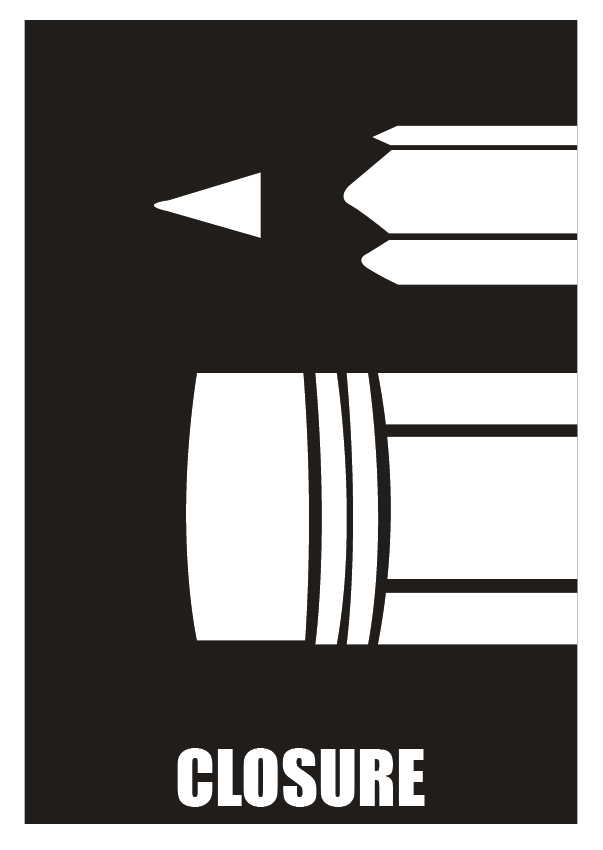
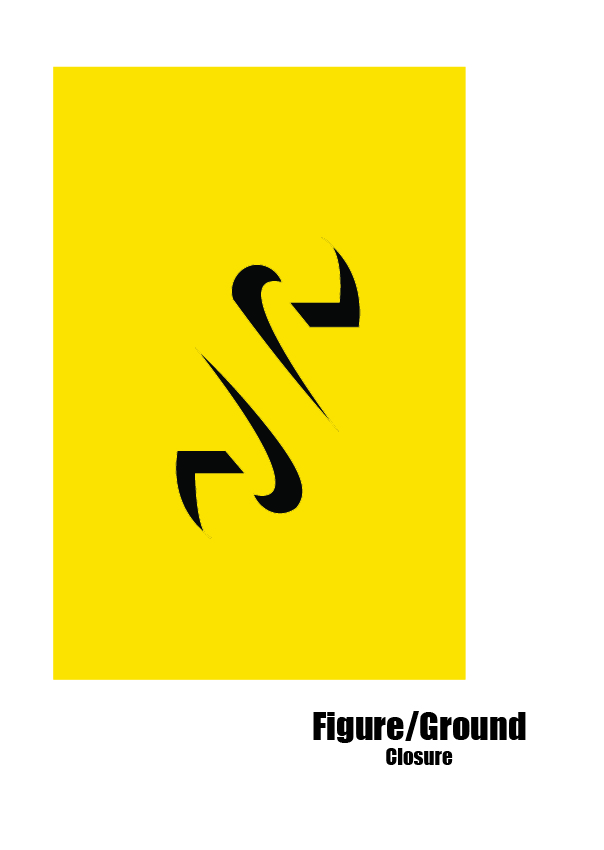
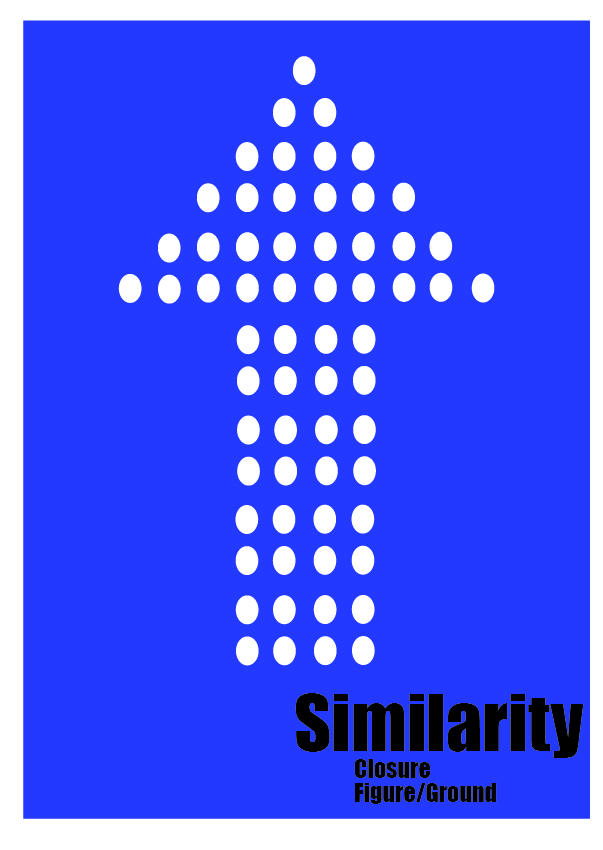
- Law of Closure: Ability of a brain to complete a shape or an object even when it isn’t fully closed.
- Principle of similarity: Objects with shared visual characteristics. The more alike they appear the more likely they are to be construed
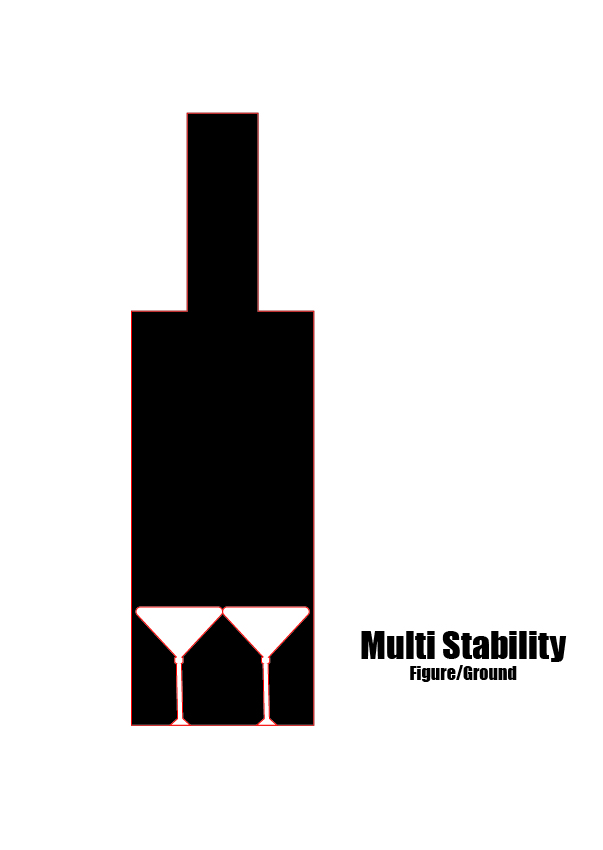
- Multi stability : ability of our eyes to see two diff things
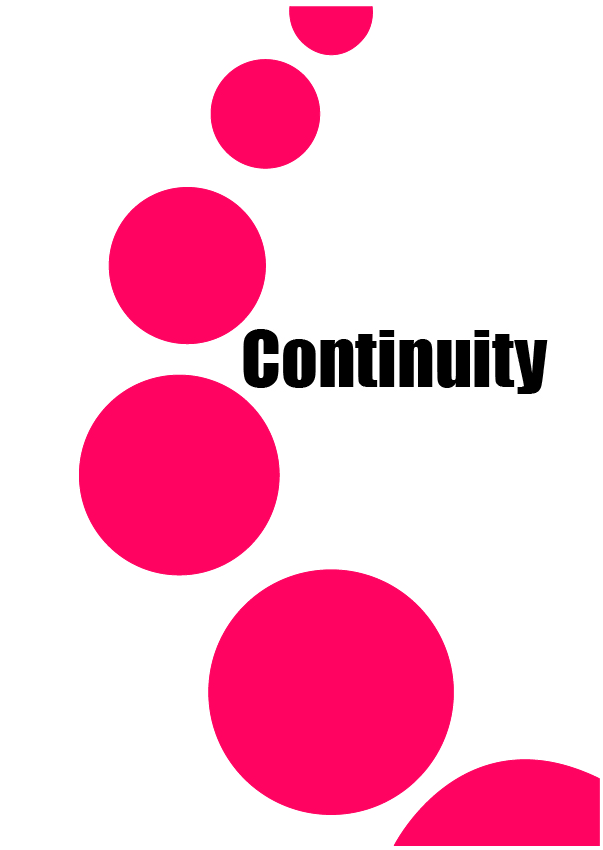
- Law of Continuity:
- Figure- ground Relationship
Simple composition cannot have a single principle.
Based on these principles, we had to make posters.
Learned about the layers in illustrator, how we can add layers, sort them, select the objects in the specific layer, rearrange them and how it can be used for making projects in illustrator.
Learned about editing artboards, How we can create multi artboards at the same time, how we can arrange their size and shape according to us.
WEEK 3
We learnt about Gradient and its 2 types, they are: Linear and Radial. Gradients are used for creating a transition between two or more colours.
We first made random shapes and filled them with the gradients, later on we wrote our names and had to ungroup the letters and fill them with the gradients one by one.
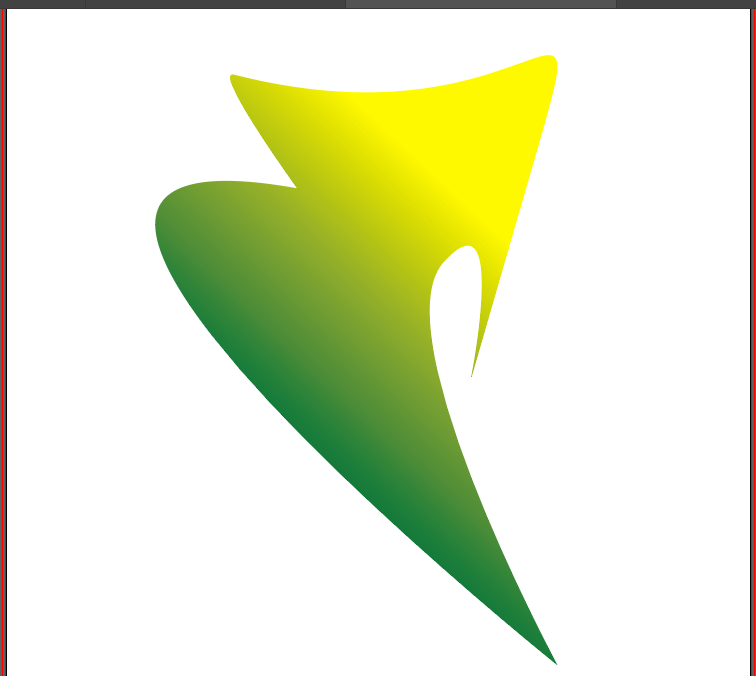
Linear Gradient 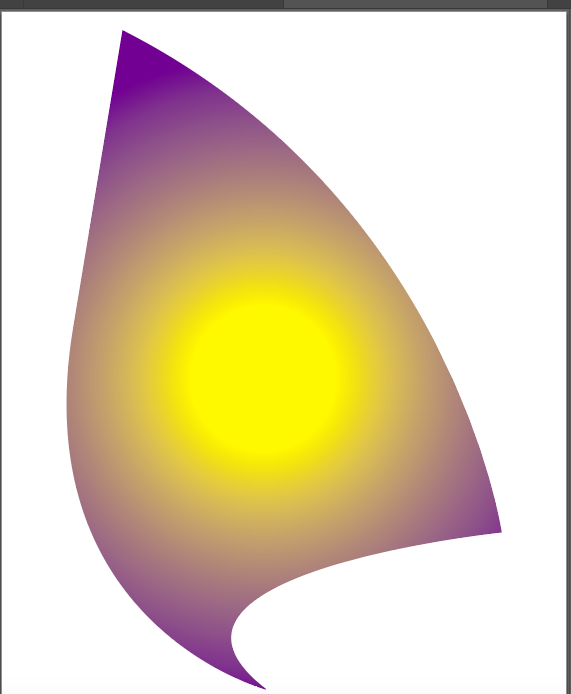
Radial Gradient 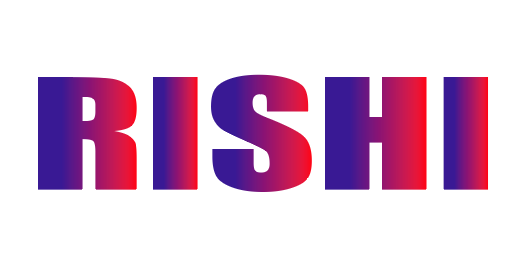
Linear Gradient 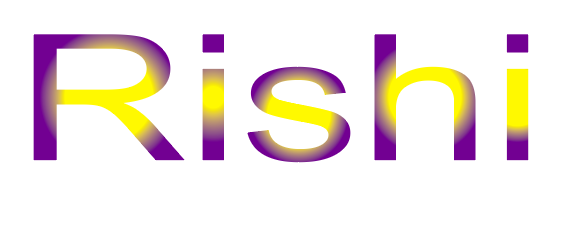
Radial Gradient
After learning and using gradients, we moved on to Blending. Blending is used to merge two or more colours. There are 3 types of blending: Smooth Colour, Specified Steps and Specified Distance.

Smooth Colour 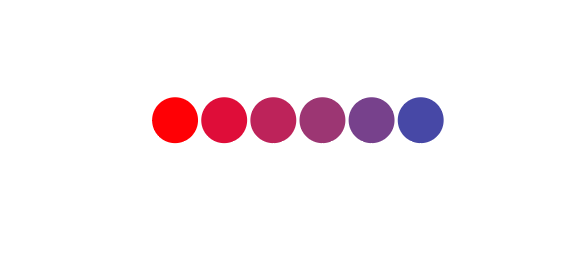
Specified Steps 
Specified Distance
- In Smooth Colour, automatics blending takes place, making it very smooth.
- In Specified Steps, we can choose in how many steps the blend should take place.
- In Specified Distance, we can choose the distance between each circle.
We used Blending in words as well, we first had to separate each alphabet and then trace them out using a pen tool, by doing so, separate spines would be made. We would then replace the spines and get our word blended.